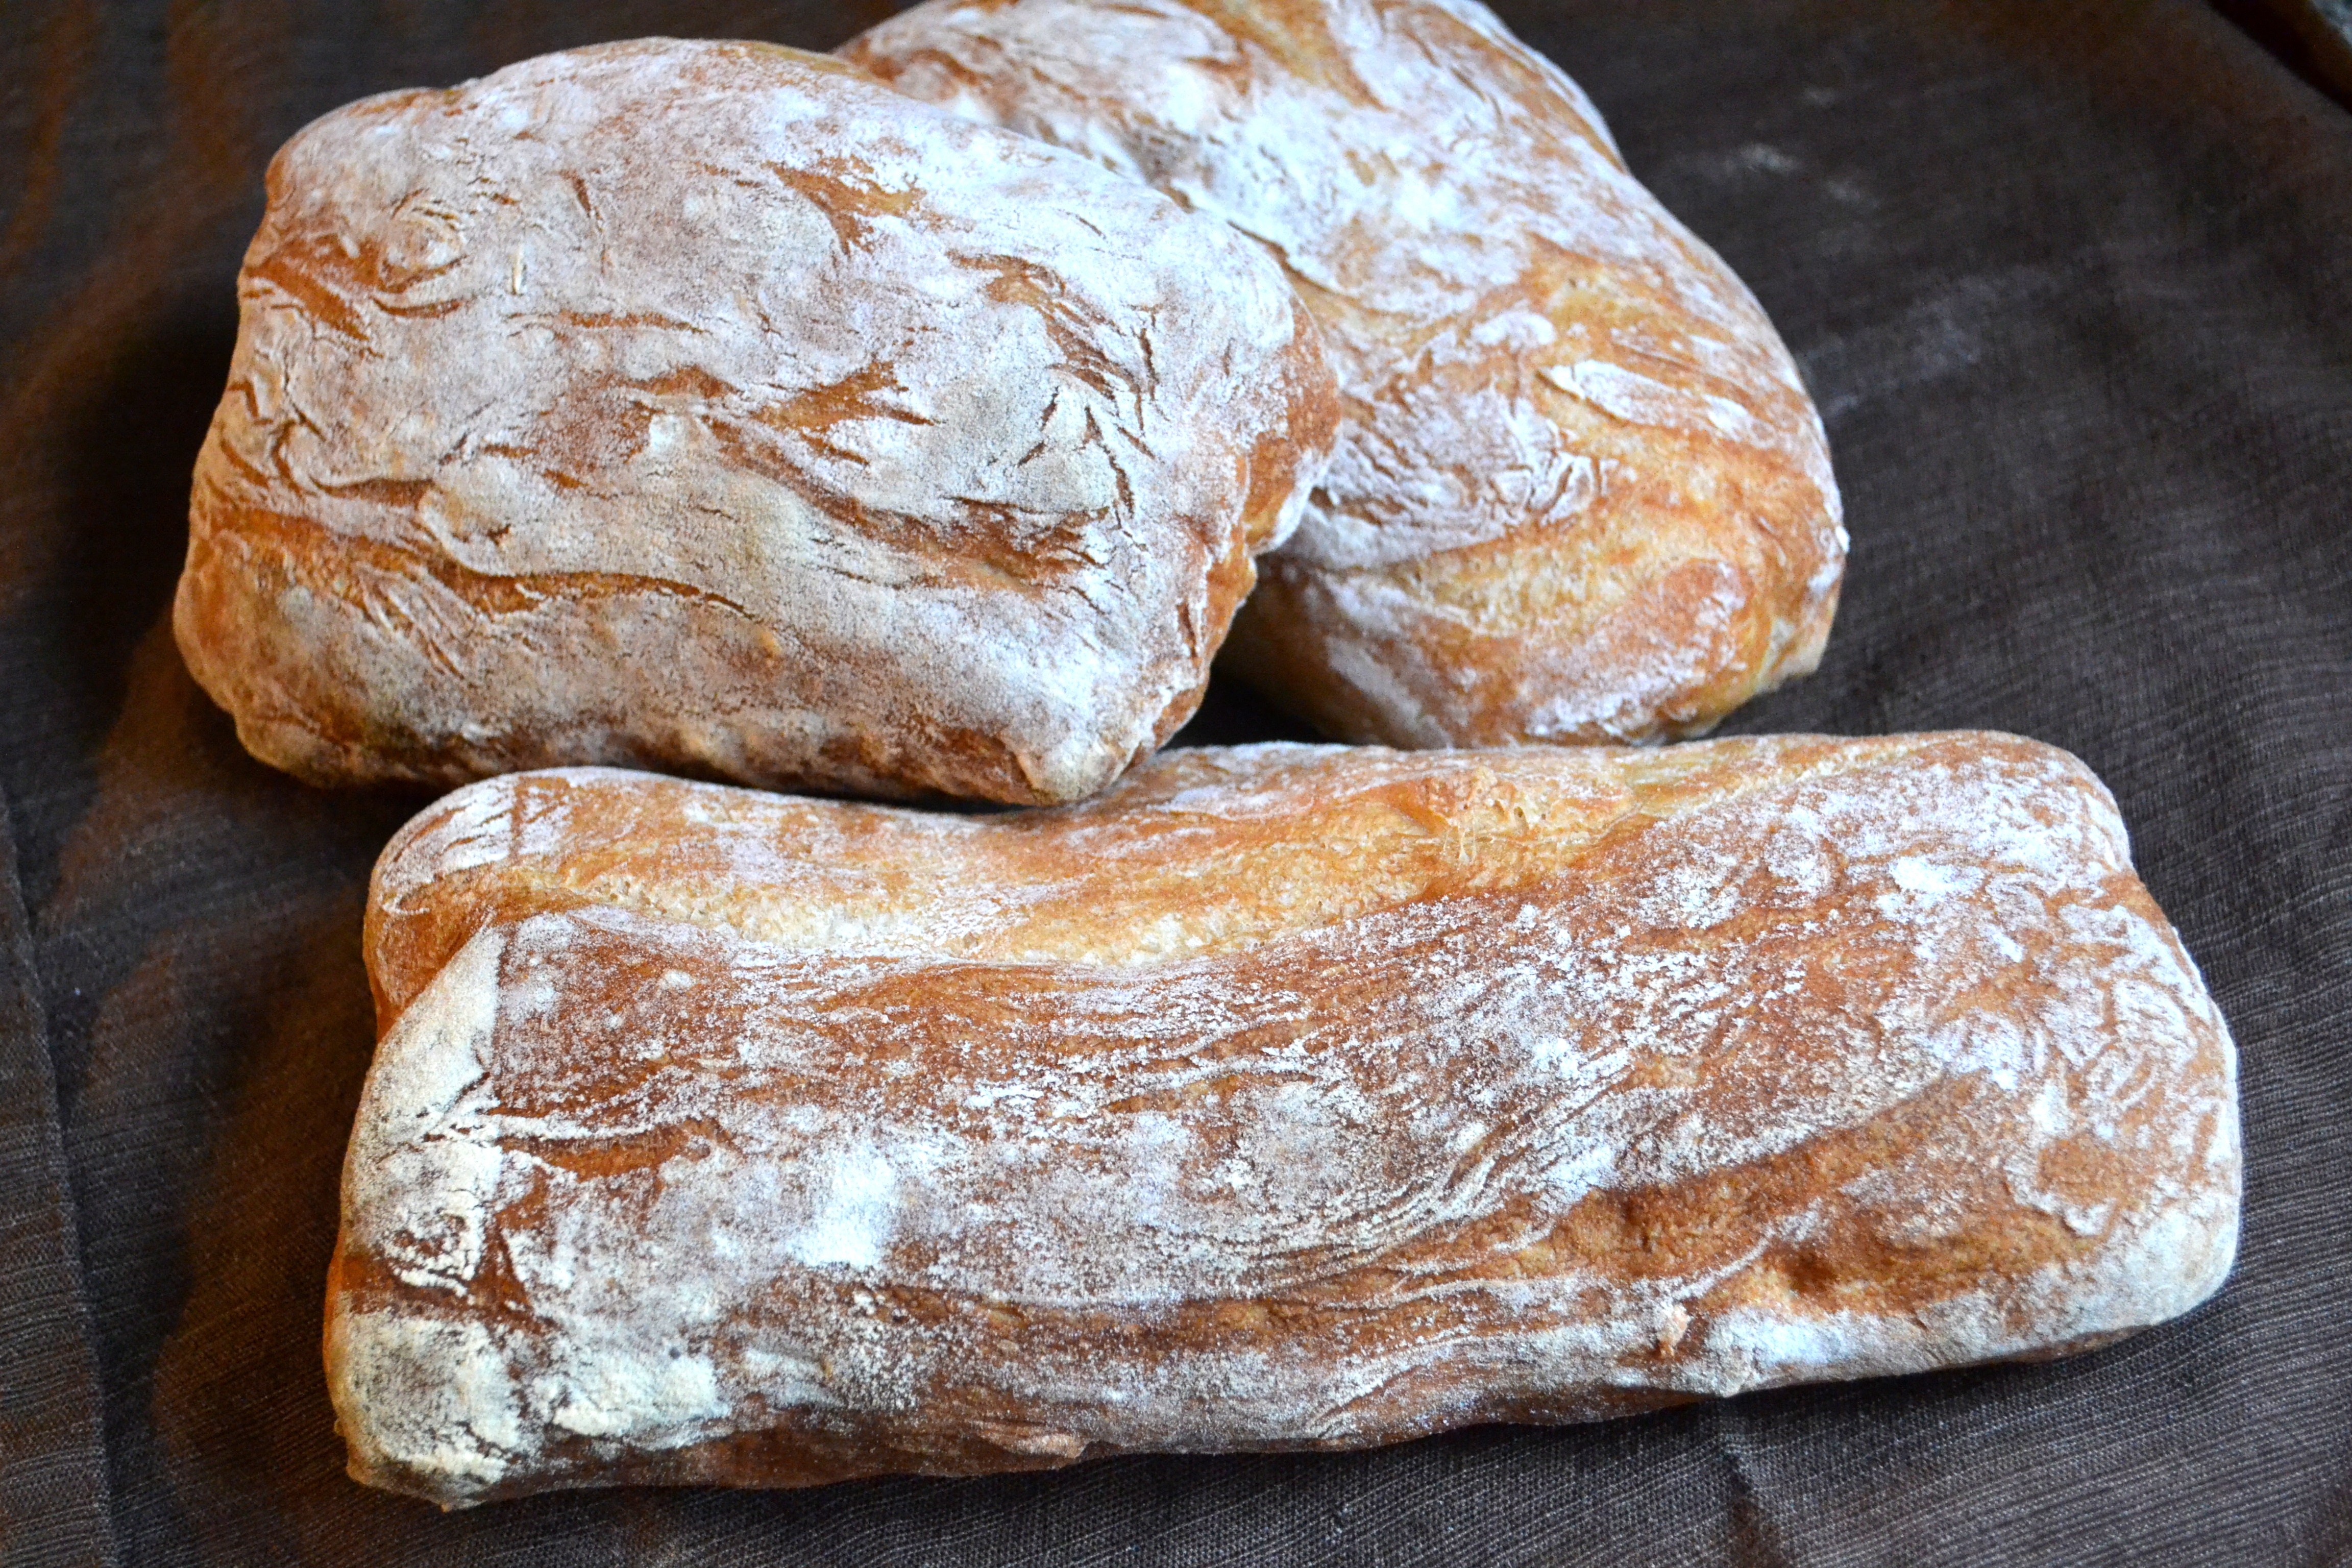
The first time I tasted ciabatta was in 1997. I was 22 years old, studying in London, and my boyfriend and I shared a 2-bedroom house with a lonely grey-haired Italian baker. Every night, before hiding in his room till his early morning shift, he’d bring home the ciabattas that hadn’t sold. In the mornings before class, I’d brew myself espresso, heat up milk for a strong white coffee, and eat the ciabatta with butter and marmite. It’s been my favorite ever since.
So this obsessive bread baking that I have been engaged in… My baguettes taste delicious but they don’t look the way they should. Shaping them properly and slicing along the top at just the right angle to make them expand is challenging. How surprised I was, when I read up on making ciabatta, that there is virtually no shaping, hardly any folding and (joy!) no slicing. The trick with this bread seems to be ensuring that it keeps it’s fragile risen state–especially when transferring to a hot steaming oven.
Things you will need before making ciabatta or baguettes:
1. A way to steam your oven, such as a clean spray bottle.
2. Nice fresh flour. Everyone I have read recommends King Arthur flour, which I have started using. I have also baked with gorgeous fresh local flour, but it’s a little on the pricey side for daily use.
3. Instant yeast. I use SAF. Half of it is in a jar in the freezer and half of it is in a jar in the fridge. I am GETTING through this stuff!

4. A kitchen aid or other mixer is a lot of help, especially for the sticky breads.
5. A bread scraper. Oh how I love my bread scraper.
6. Bakers linen is on my wish list. I have a baguette baking tray which works great, and I use baking parchment sometimes. But I will be purchasing some bakers linen soon.
7. A baking stone or pizza stone.
8. A scale. I don’t have one of these yet!
I am no expert on ciabatta, so please read up on making artisanal breads, as I did. If you have never tried bread like this, definitely research how to fold and shape bread. This recipe comes from Jeffrey Hamelman’s book ‘Bread’. He goes into more detail naturally. This is for ciabatta made with a stiff biga.
Ciabatta with stiff biga
makes 3 to 4 smallish loaves
Start the day before you want the bread
For the biga
6.4oz or 1 1/2 cups bread flour
3.8oz or 1/2 cup water
1/8 of a tsp of instant dry yeast
For the final dough
1lb, 9.6oz or 5 3/4 cups bread flour
1lb, 3.6oz or 2 1/2 cups water
1 Tbs salt
1 1/4 tsp instant dry yeast
biga
1) Make the biga the night before. Add yeast to the water, then add the flour and mix until just combined to a dry, dense biga. Add a few drops of water if it needs it. I mixed this by hand. Cover with plastic and leave for 12-16 hours in a warm place to rise. My kitchen was very cold so it didn’t rise enough. In the morning, I put it into a slightly warm oven for a couple hours.
2) Add all the ingredients except the biga to a kitchen aid mixing bowl and mix on the first speed for 3 minutes. As the dough is mixing and coming together, add the biga in pieces to incorporate it into the dough. Then mix on the second speed for 3 to 4 minutes. The dough will be sticky.
3) The dough will rise for 3 hours. After the first hour, scrape the dough onto a floured surface for folding. It is very sticky so have enough flour on the counter and fold quickly before it sticks. Fold one side in, then the next. Then turn the dough and fold the other two sides. Ciabatta is not shaped at the end so the folding has to be done correctly to help the bread structure. Place the dough back in the bowl and cover.
4) After two hours, flour the counter and fold again.
5) Divide the dough into loaves. Flour the counter (again, with plenty of flour) and scrape the dough onto the counter. Lightly flour the top surface of the dough. Have a large, floured bread board ready nearby to place the loaves on. Cut a strip of dough, about 4 inches wide and then cut the strip again to make two smaller rectangular loaves. If the loaves are more square than rectangle, gently stretch them out a little. Place the loaves on the floured bread board and continue cutting the rest of the dough into small loaf shapes.
6) Cover the dough with bakers linen or plastic and leave to proof for 1 1/2 hours.
7) Preheat the oven to 460F with a baking stone in it.
8) The next step will be transferring the fragile ciabatta loaves to the hot oven filled with steam. Before you put them in the oven, have steam already going (using a spray bottle) and then spray more water again once all the loaves are in. Take the plastic or bakers linen off the loaves and using one hand, quickly and gently flip the ciabattas upside down without putting dents into them. Then use two hands to gently push in and pick up both ends and transfer them to the peel or to a baking tray. If you have a peel, this is the time to use it! I don’t so I put half the ciabattas directly on the baking stone and half onto a baking tray.
9) Slide the loaves off the peel and load them into the oven, or (like me) place the baking tray into the oven and don’t forget to steam. I put some of the loaves onto a hot baking stone by quickly taking it out of the oven, loading the ciabatta onto it and quickly putting it back into the oven.
10) Larger loaves will bake for about 35 minutes. Mine were smaller and were done in 25 minutes. The loaves at the top of the oven got dark a little too soon so I turned the oven down to 430 and moved them to a lower rack in the oven. I let them get a nice deep golden color. If you take ciabatta out too soon, says Jeffery Hammelman, the water moisture in the bread will soften the crust and you won’t get the nice crispy ciabatta-ness.
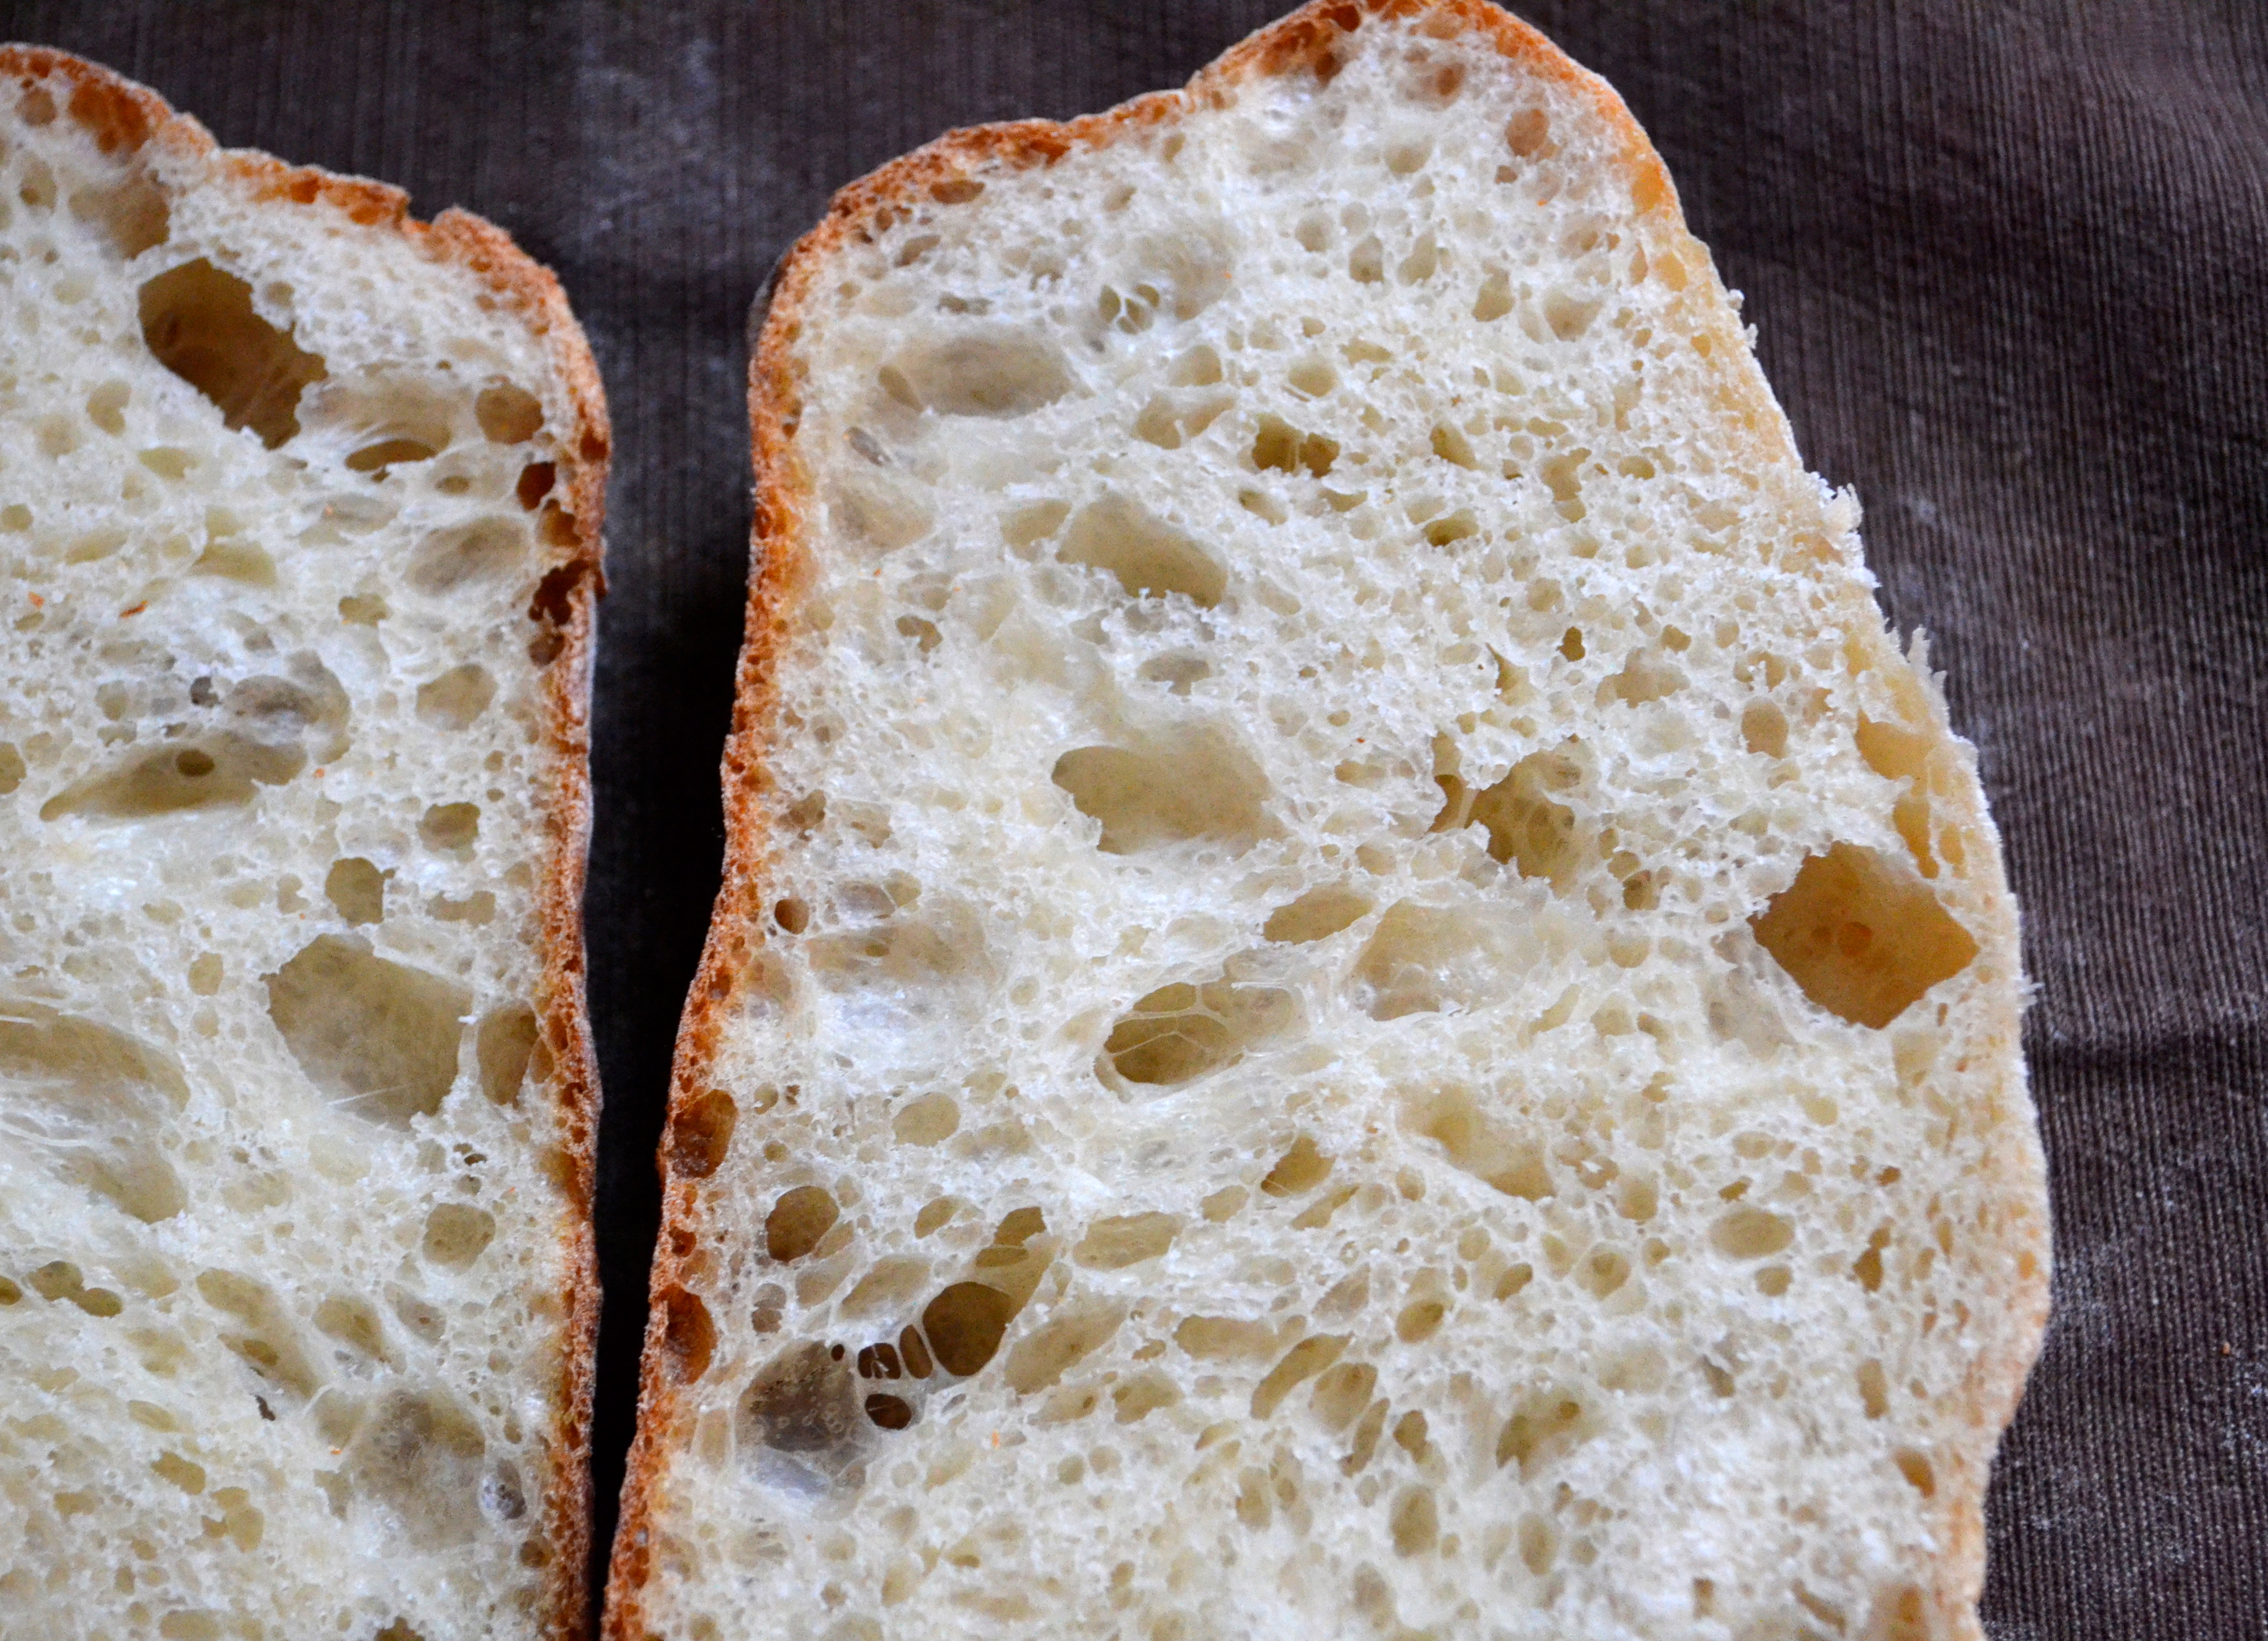
Good luck! Also, any bread experts out there, send me your advice or wisdom! This was my first time making ciabatta, and I think the inside structure wasn’t quite ‘holey’ enough, but I’ll keep chugging along till I get there.