• About
  • Recipes by topic
  • Vegan Recipes

lushesfood

~ luscious food from us lushes

lushesfood

Category Archives: kids

Potato, cheese and onion pierogies

22 Sunday Nov 2015

Posted by Zoli in breakfast, cheese, comfort food, kids, pasta, Polish, Vegetarian

≈ 6 Comments

Tags

pierogies, polish recipes, vegetarian pierogies, vegetarian polish recipes

pierogi-1

pierogi-2

pierogi-3

pierogi-4

pierogi-5

pierogi-6

There are many kinds of people in this world. You’re only reading this because you are the kind of person that cooks. There is also the kind of person that cooks even when it is not practical to do so. I am that kind. I would rather make dough, roll it out, cut out little circles and stuff them with filling, than drive to the store and buy ready-made pierogies. Now if I’m already in the store, that’s different. I would happily buy ready-made ones. But get in my car and drive there? As my tween would say: UGH.

Get your apron on and start some music! You may as well block out the whole day. These are going to take a long time.

This recipe comes from finecooking.com. Easy to follow, easy to make and easy to eat. Yum.

Potato filling
1-1/2 lb. russet potatoes, peeled and cut into 1-inch pieces
Kosher salt
3 Tbs. unsalted butter or olive oil
3 medium white or yellow onions, finely chopped (about 3-3/4 cups)
10 oz. farmer cheese (or other), crumbled (about 2 cups)
Freshly ground black pepper

Pierogi dough
2 lb. (7 cups) unbleached all-purpose flour; more as needed
4 oz. (1/2 cup) unsalted butter, softened
2 cups warm water

1) Make the filling
Put the potatoes in a 4-quart saucepan with enough cold salted water to cover; bring to a boil over high heat. Lower the heat to maintain a steady simmer and cook until the potatoes are tender when pierced with a fork, about 15 minutes.

Drain, return the potatoes to the pan, and dry them over medium heat, stirring, until they look floury and leave a light film on the bottom of the pan, about 3 minutes. Mash with a potato masher until smooth. Transfer to a large bowl and set aside.

Heat the butter in a 12-inch skillet over medium heat. Add the onions and cook, stirring occasionally, until deep golden-brown and soft, 15 to 20 minutes. Reserve half of the onions for garnish and add the other half to the potatoes. Add the cheese, 1 tsp. salt, and 1/2 tsp. pepper and mix until well combined. Let cool to room temperature before using.

2) Make the dough
Put the flour in a large bowl. Add the butter and, using your fingers, work it into the flour until the mixture has the texture of coarse meal. Add 1-3/4 cups of the warm water and stir with your fingers until the mixture begins to come together. If the mixture is dry, you can add up to 1/4 cup more warm water, 1 Tbs. at a time, until it forms a shaggy yet cohesive yet mass.

Turn the dough out onto a well-floured work surface and gently knead it just until soft and elastic; the dough will not be completely smooth, but it should be easy to shape, with a Play-Doh-like consistency. Avoid overkneading, or the dough will become tough. (At this point you can proceed with the recipe, or let the dough rest on a floured surface, covered with a clean dishtowel, for up to 1 hour.)

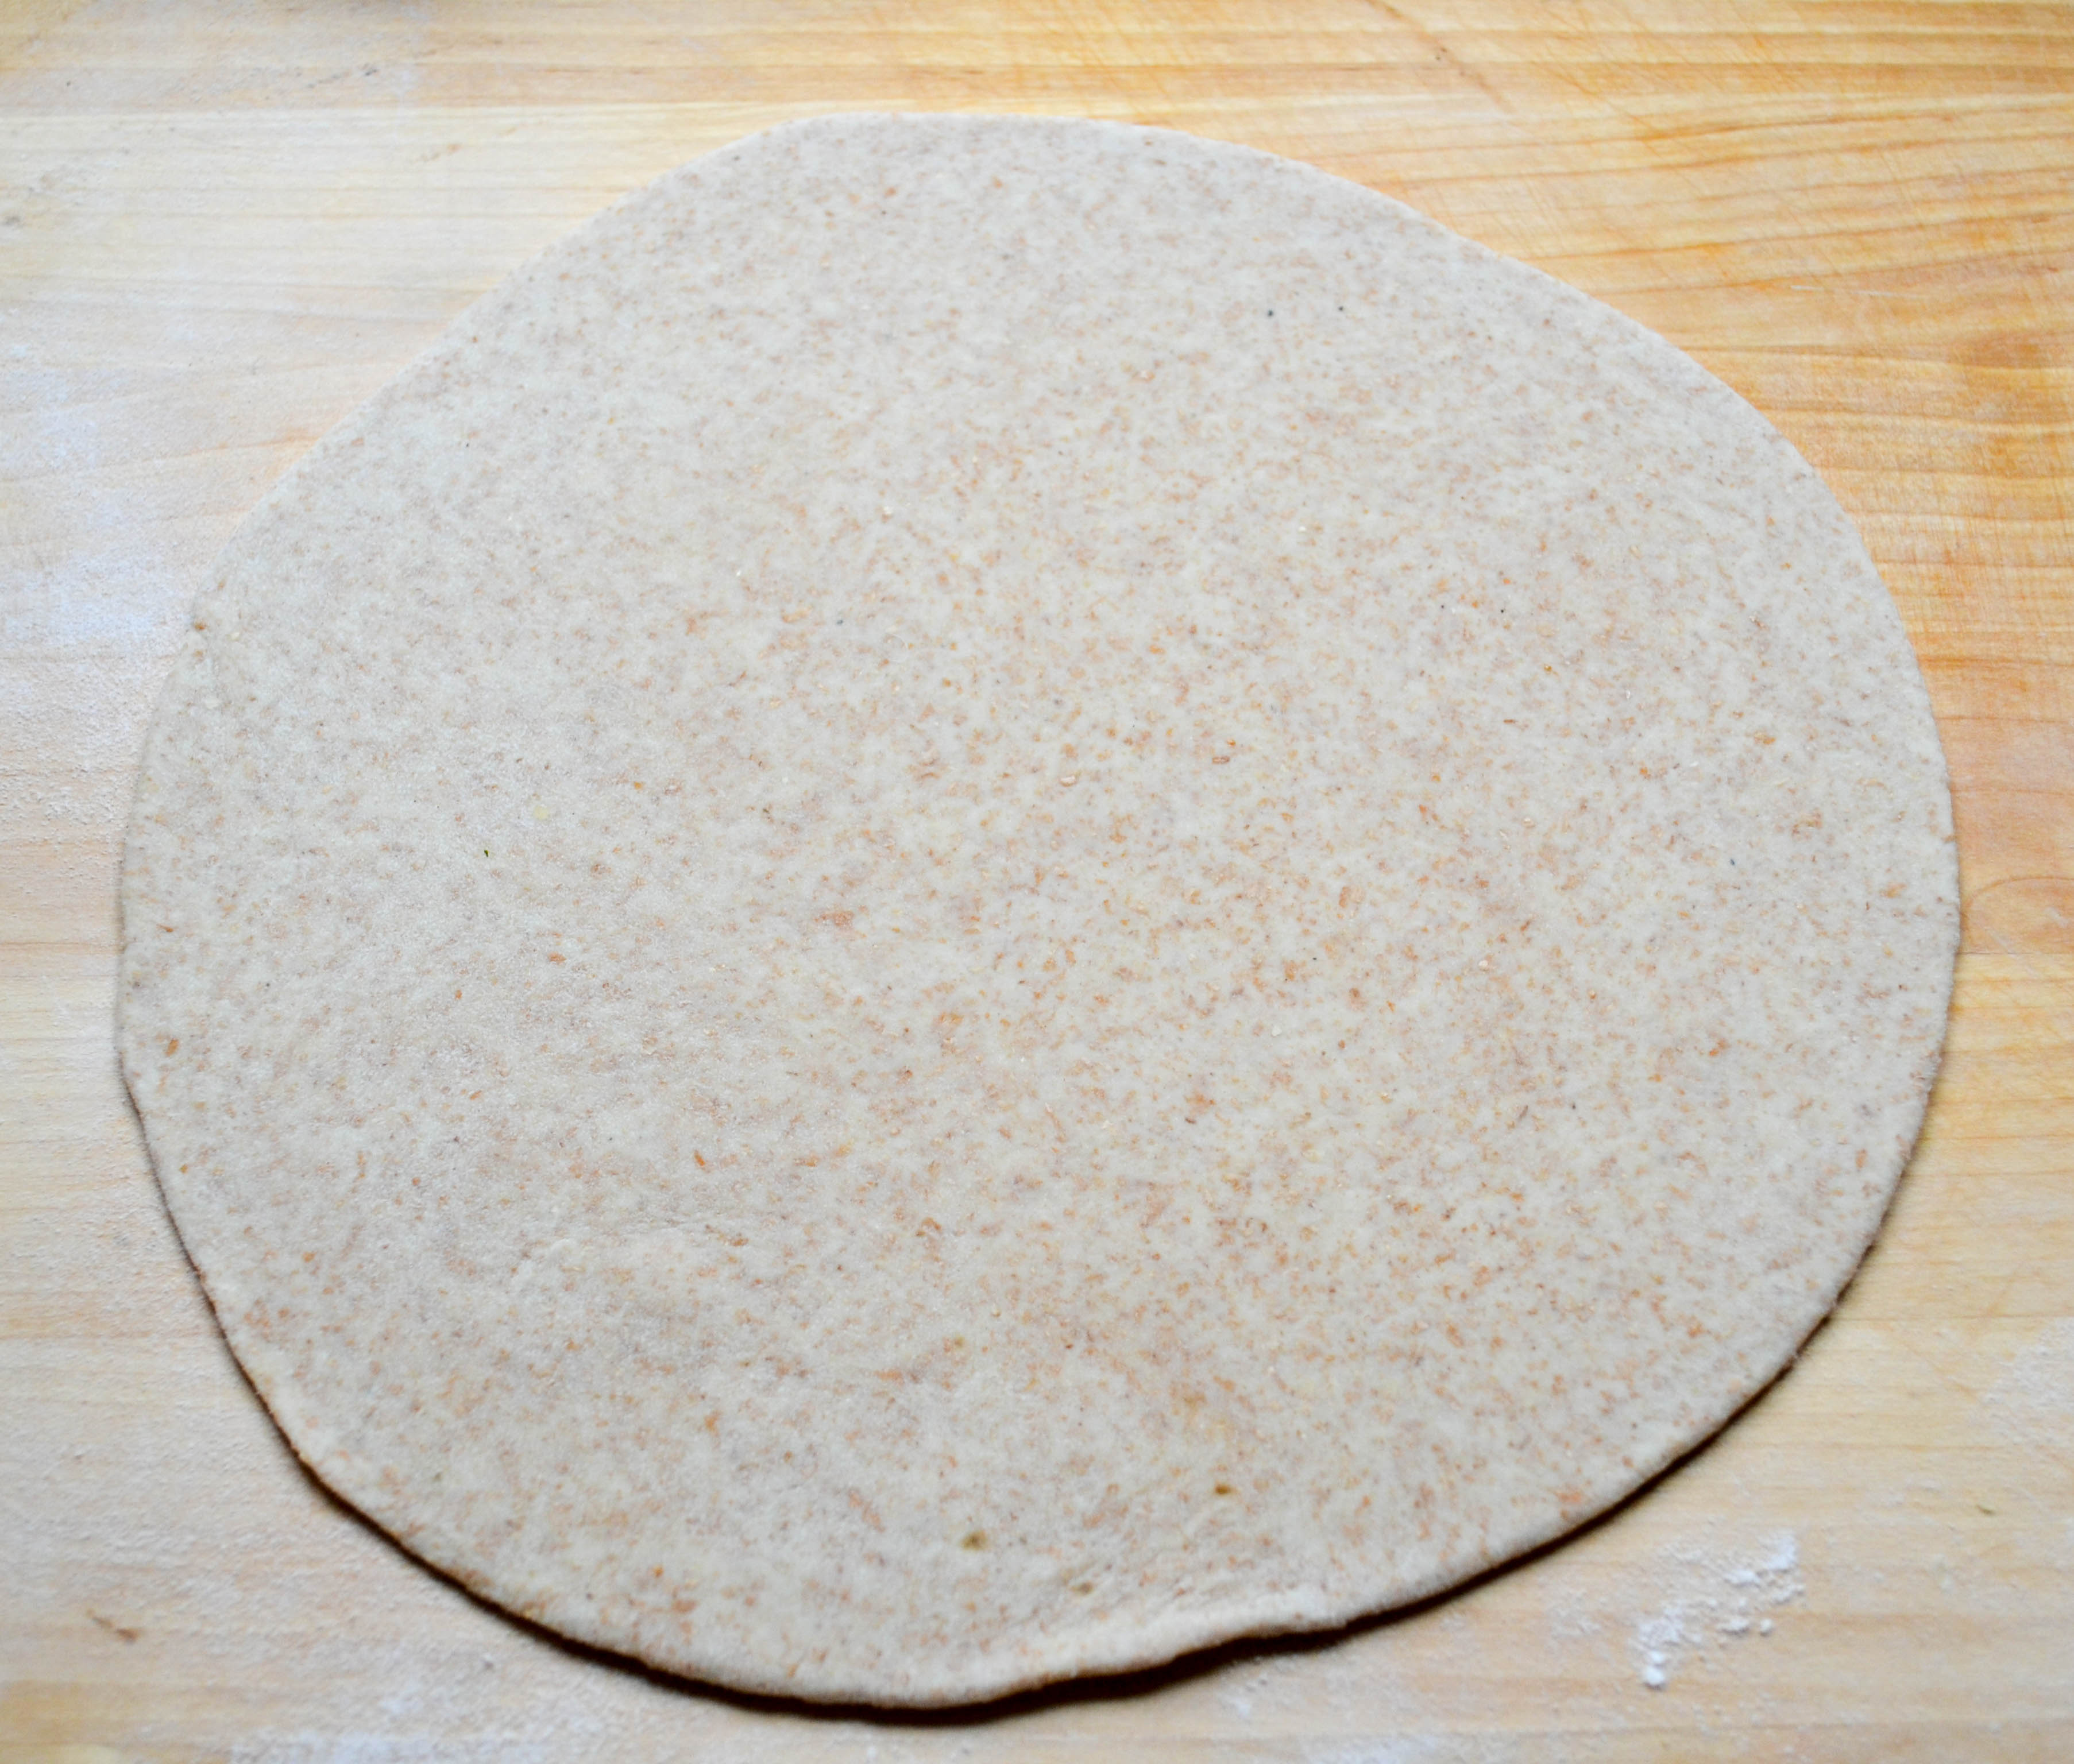
Roll and cut the dough
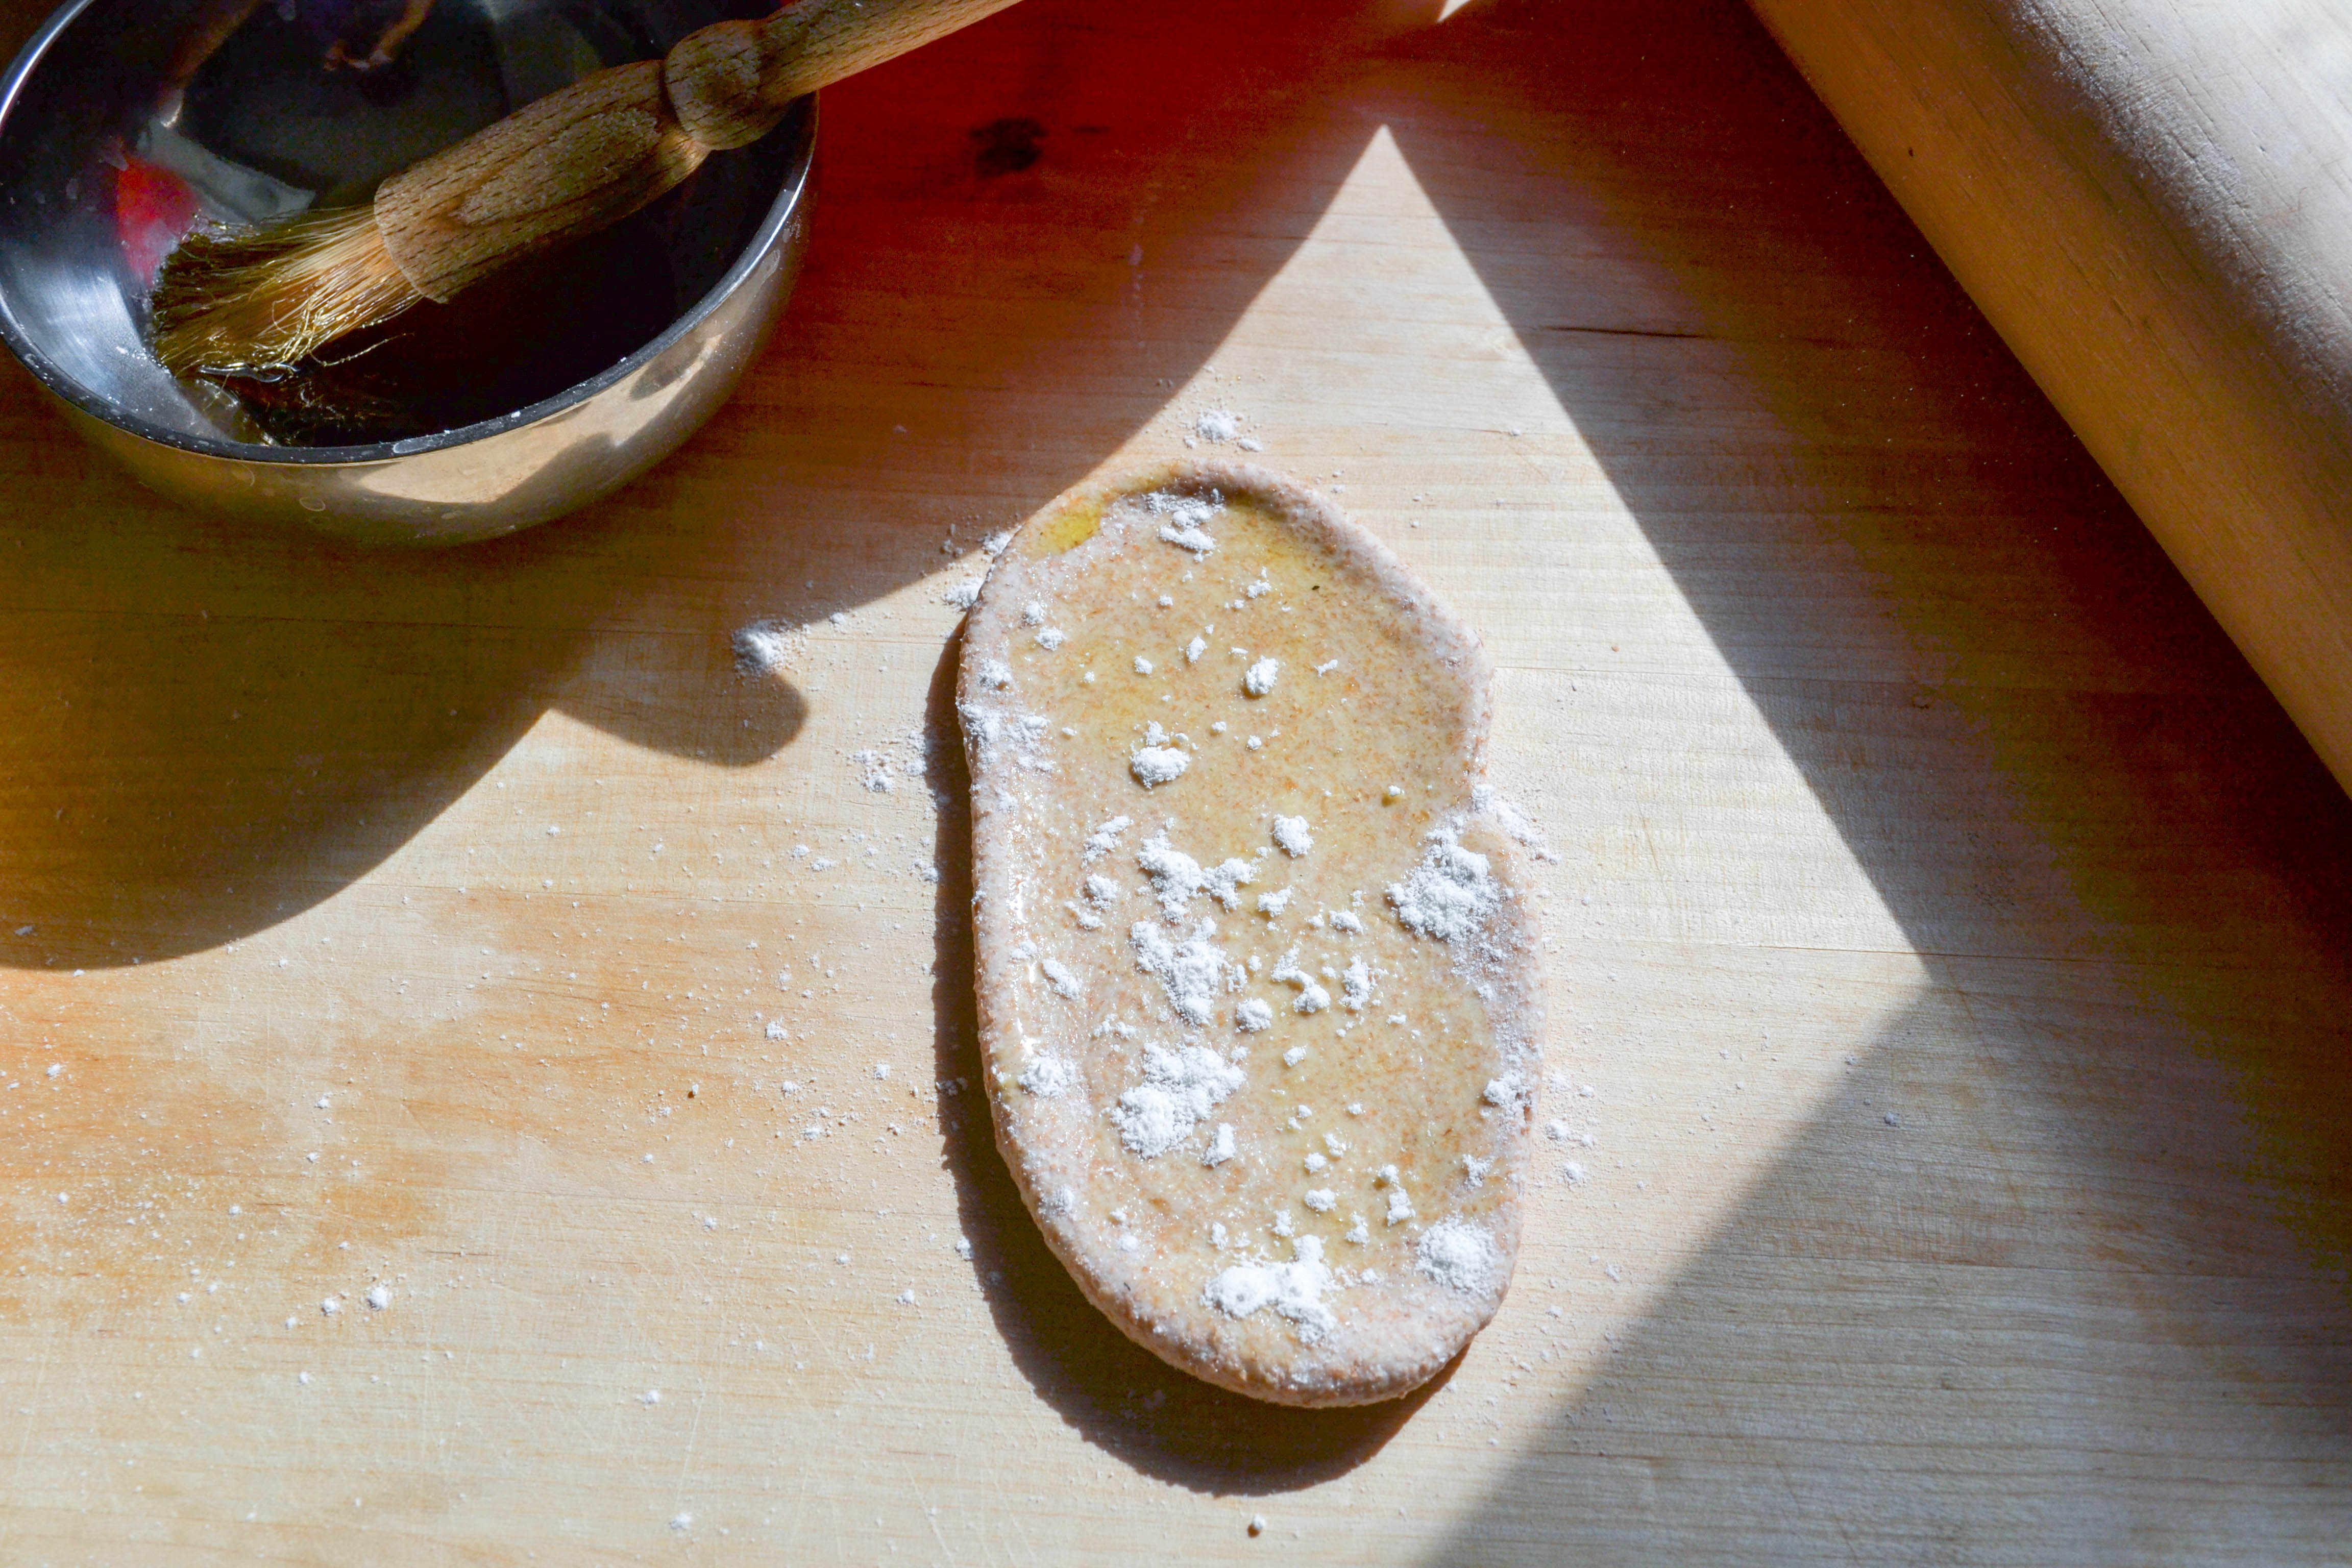
Line a large baking sheet with parchment and dust with flour. Divide the dough into 6 orange-size balls (about 8 oz. each). Working with 1 piece of dough at a time on a floured work surface, and keeping the others covered so they don’t dry out, roll the dough into a 1/8-inch-thick, 10- to 11-inch-wide circle.

Using a floured 3-inch round cookie cutter or inverted glass, cut out circles of dough. Transfer the circles to the baking sheet, dust with a little flour, and top with a sheet of parchment so they don’t dry out. Repeat with the remaining dough, stacking the circles between sheets of floured parchment and rerolling the scraps until all of the dough is used.
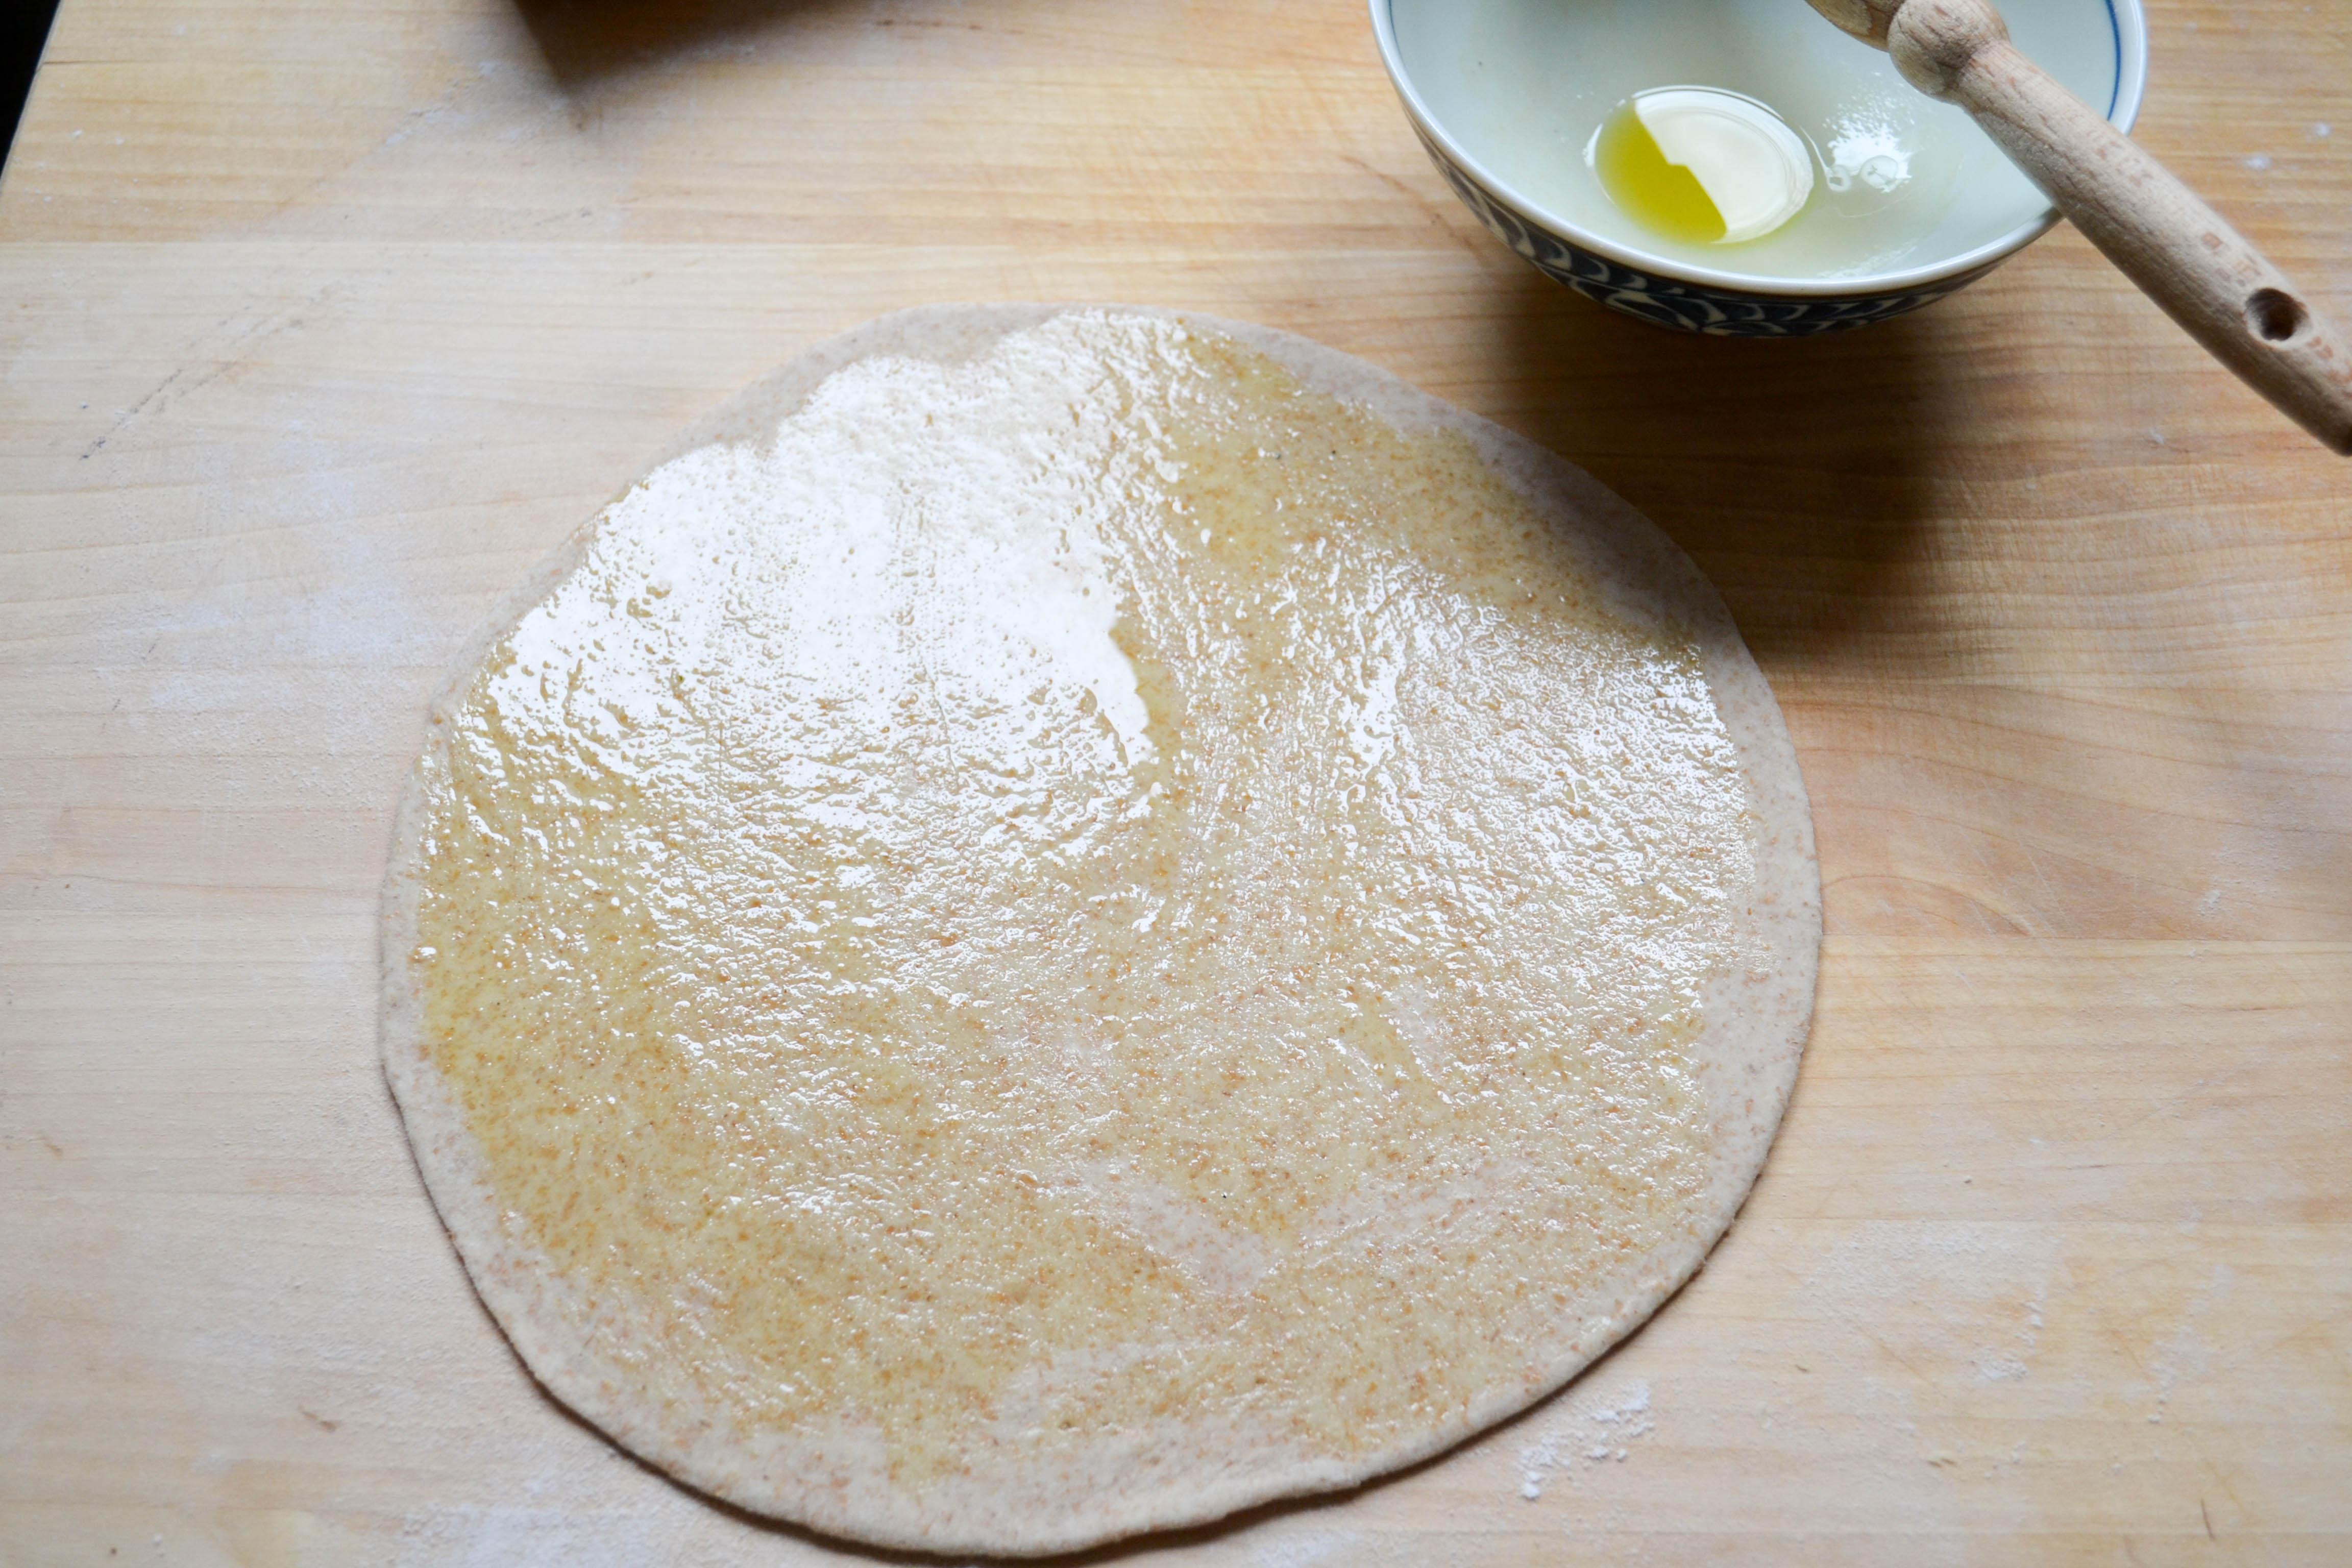
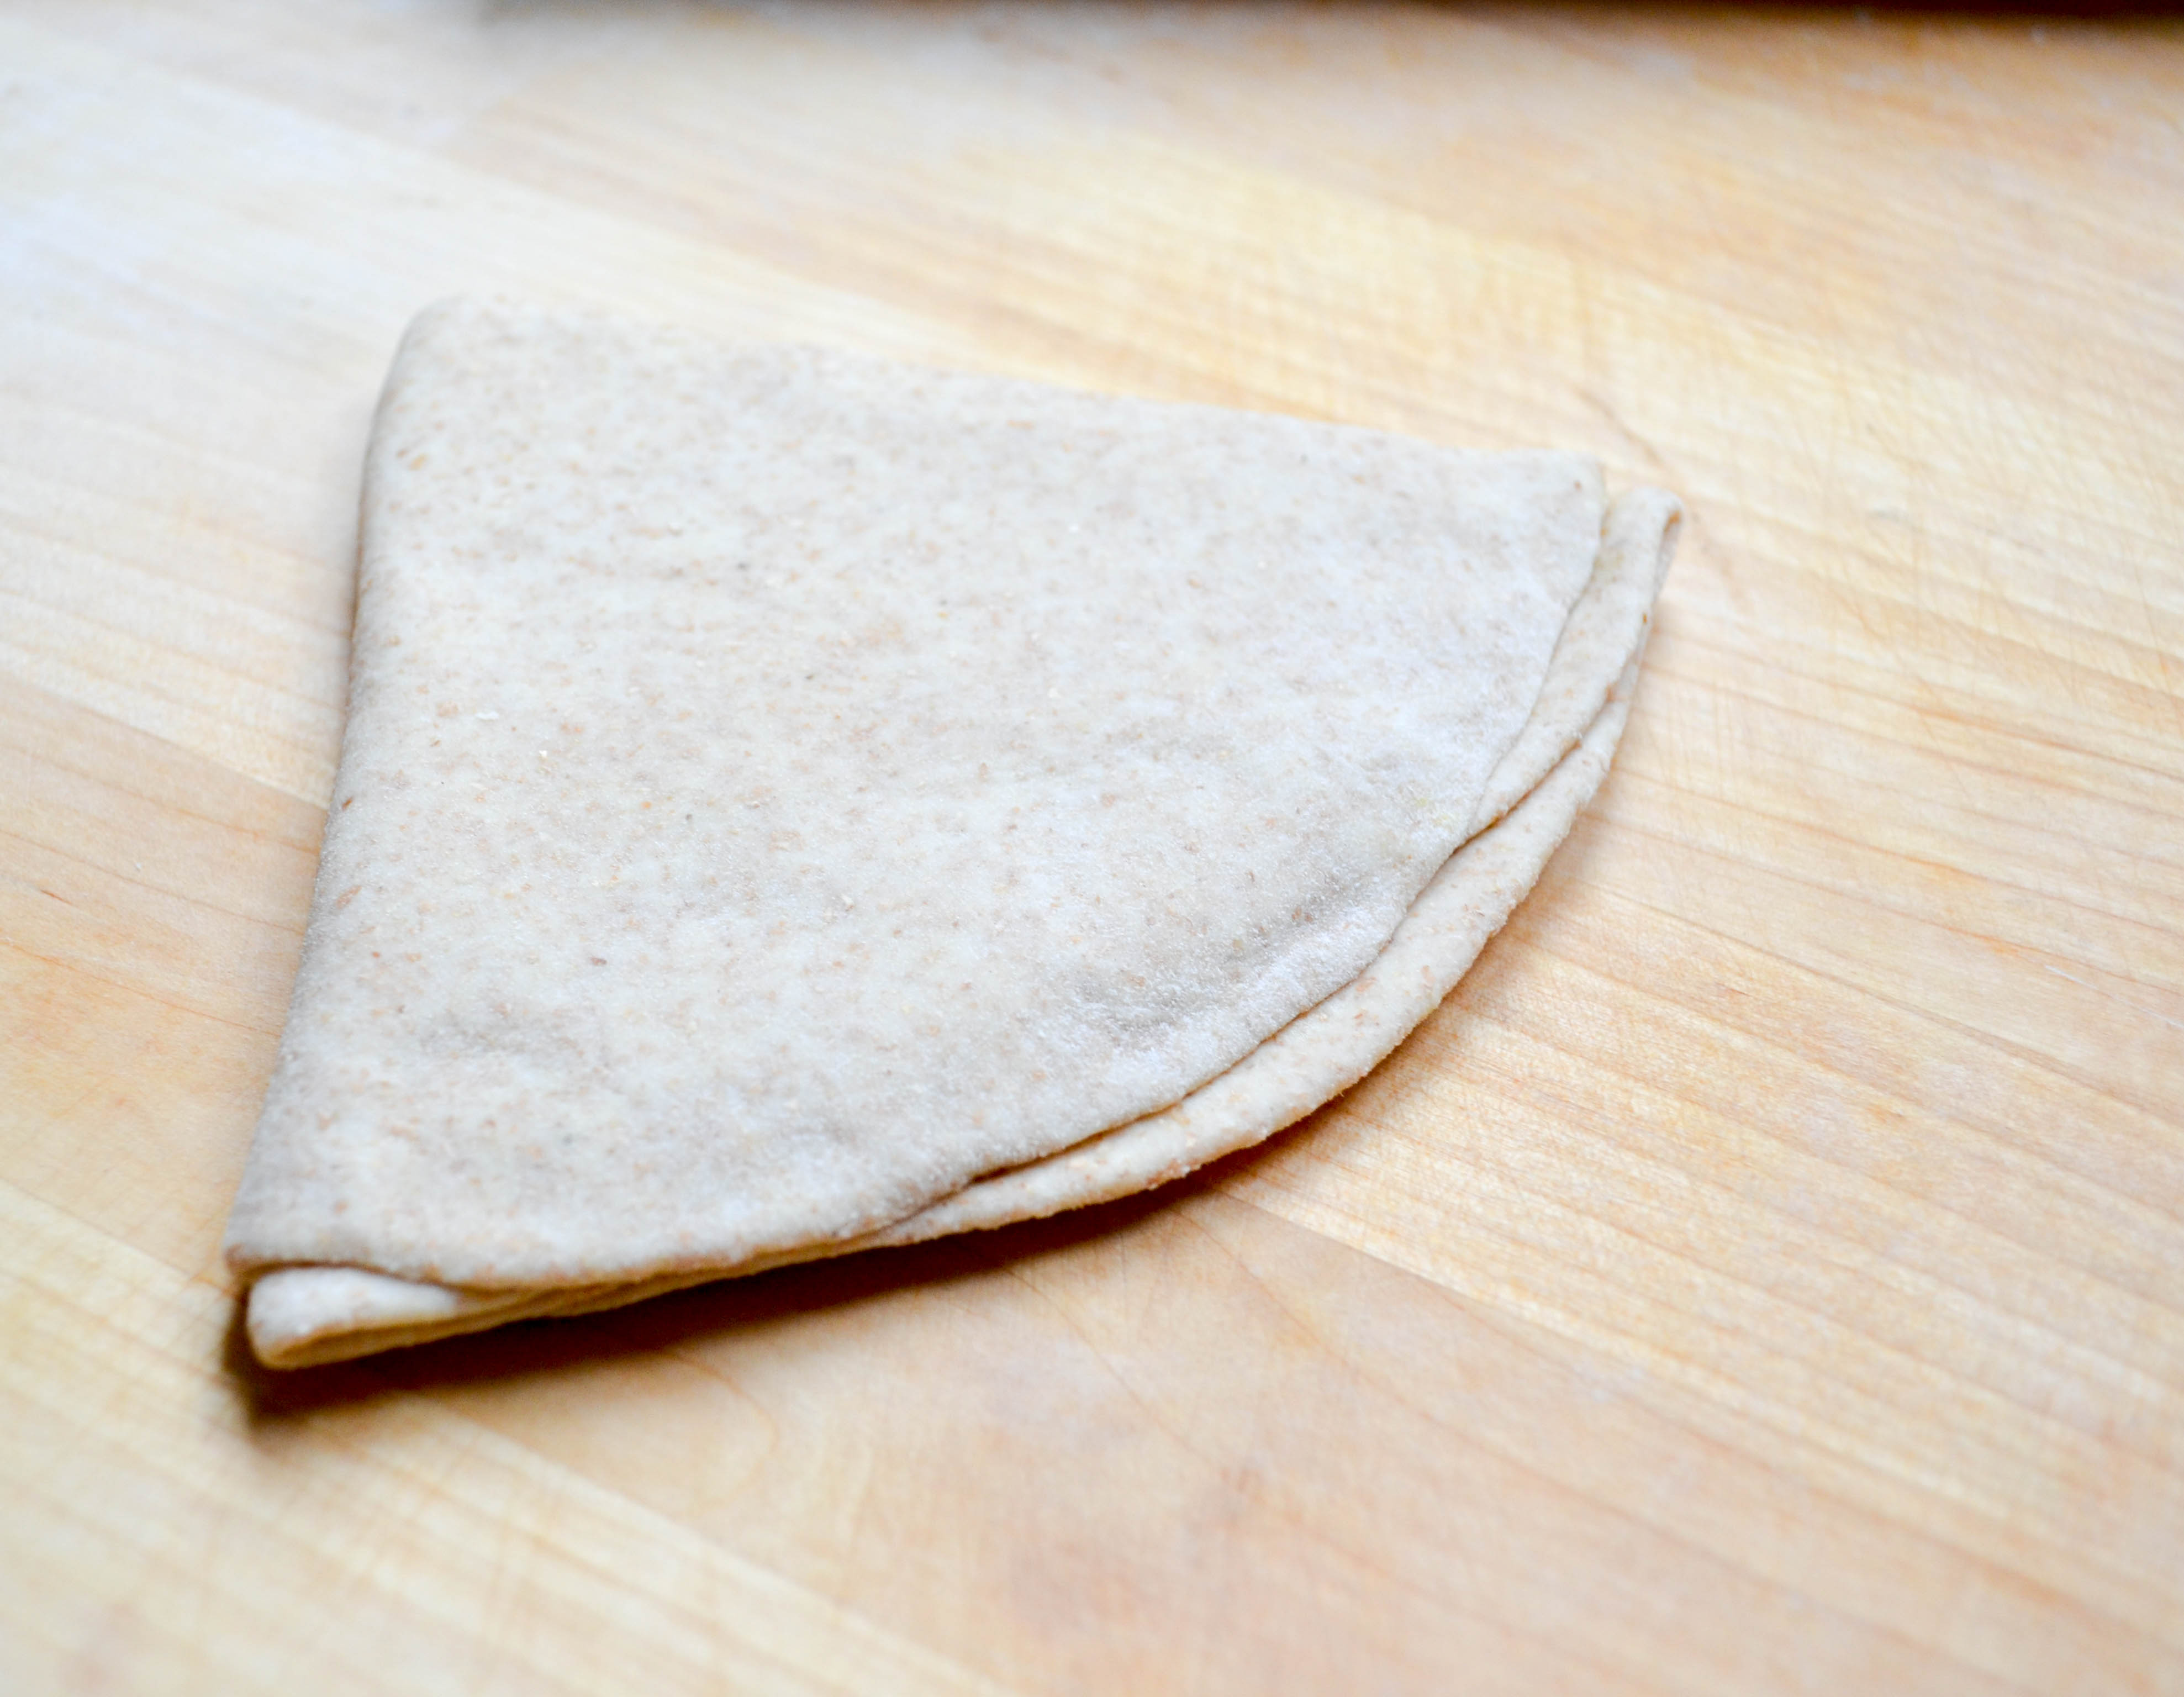
3) Fill the dough
Working with 1 dough circle at a time, brush off any excess flour and hold the circle in your palm. Spoon a scant 1 Tbs. of the filling into the center of the circle and fold it in half. Using your fingers, tightly pinch the edges together to seal and create a 1/2-inch border. Arrange the filled pierogi on a lightly floured surface or large rimmed baking sheet and dust very lightly with flour; loosely cover with plastic wrap or a clean dishtowel. Repeat with the remaining dough circles and filling.

4) Cook the pierogi
Position a rack in the center of the oven and heat the oven to 175°F. Bring a 6- to 8-quart pot of salted water to a boil over high heat. Working in batches of 10 to 12, drop the pierogi into the boiling water and give them a gentle stir so they don’t stick together or to the sides of the pot. When they float to the top 5 (after 1 to 2 minutes for room temperature pierogi, 3 to 4 minutes for refrigerated, and 7 to 10 minutes for frozen), use a slotted spoon to transfer them to a platter and keep warm in the oven while cooking the remaining batches.

Serve the pierogi
You can serve the pierogi either boiled or fried. (I did both. I boiled them ahead of time, kept them warm under saran wrap and fried them in butter when it was time for dinner.)

For boiled pierogi, melt the butter in a 1- to 2-quart saucepan. Sprinkle the pierogi with the reserved onion and drizzle with melted butter. Serve hot with the sour cream on the side.

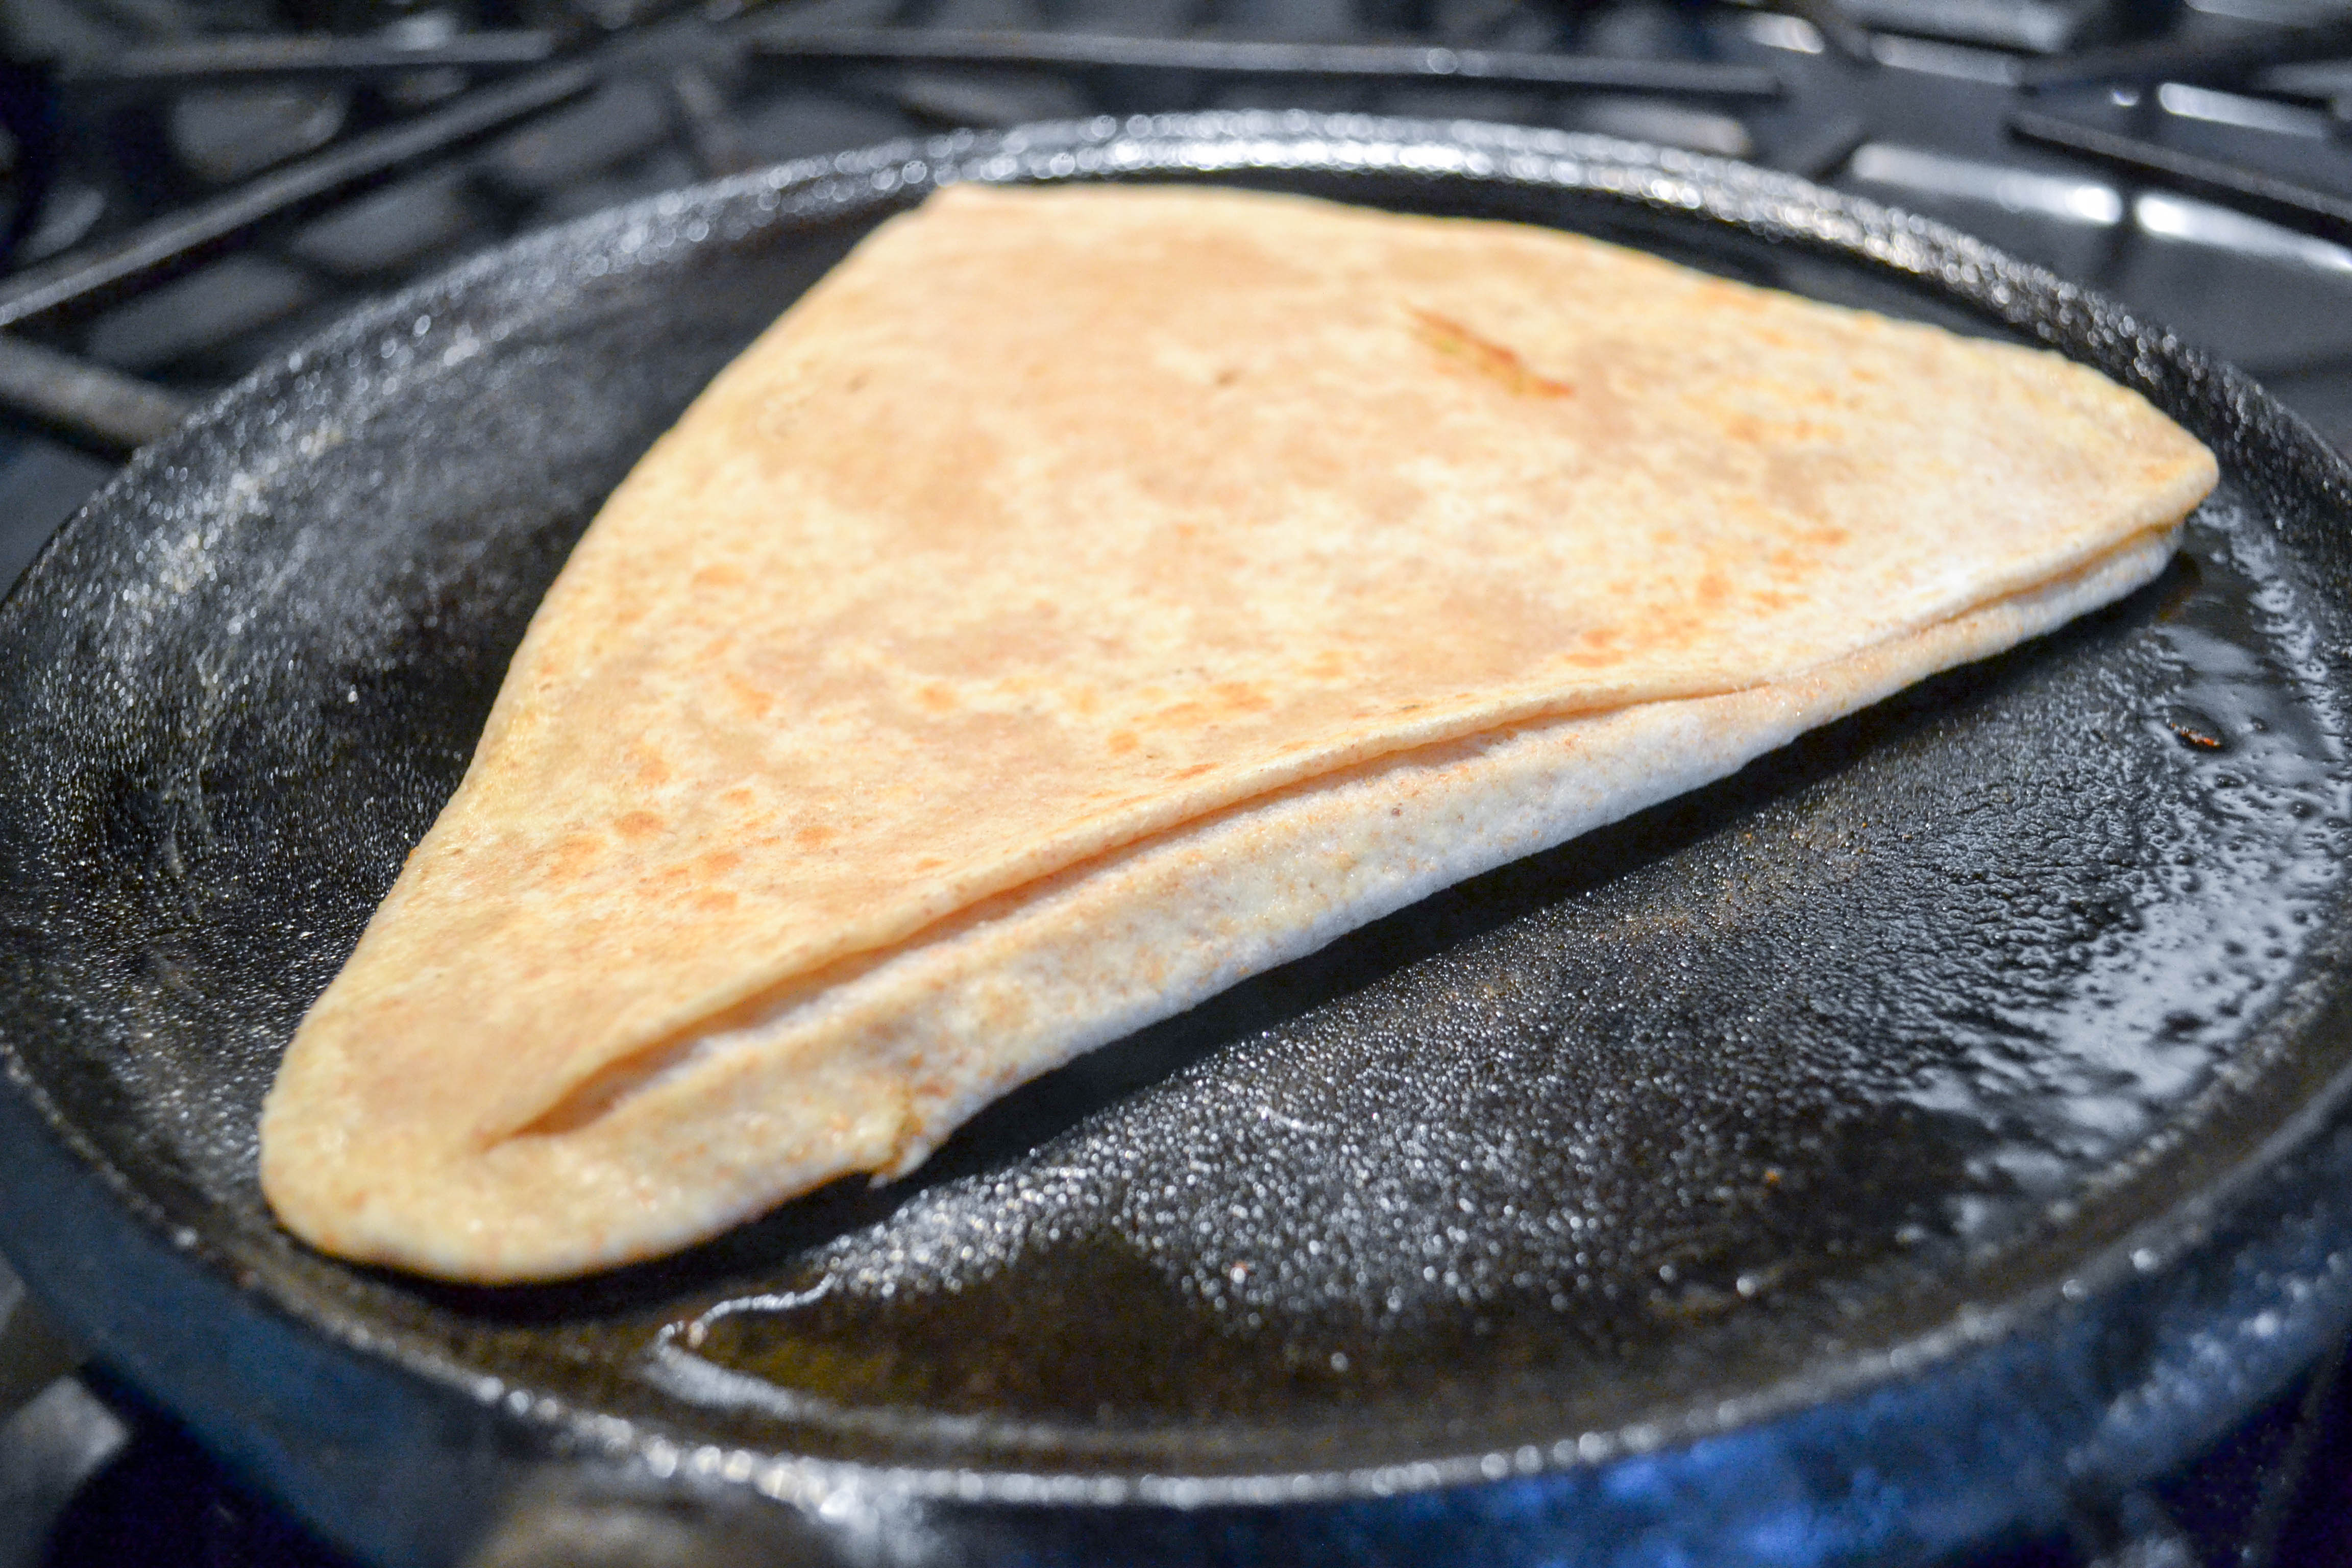
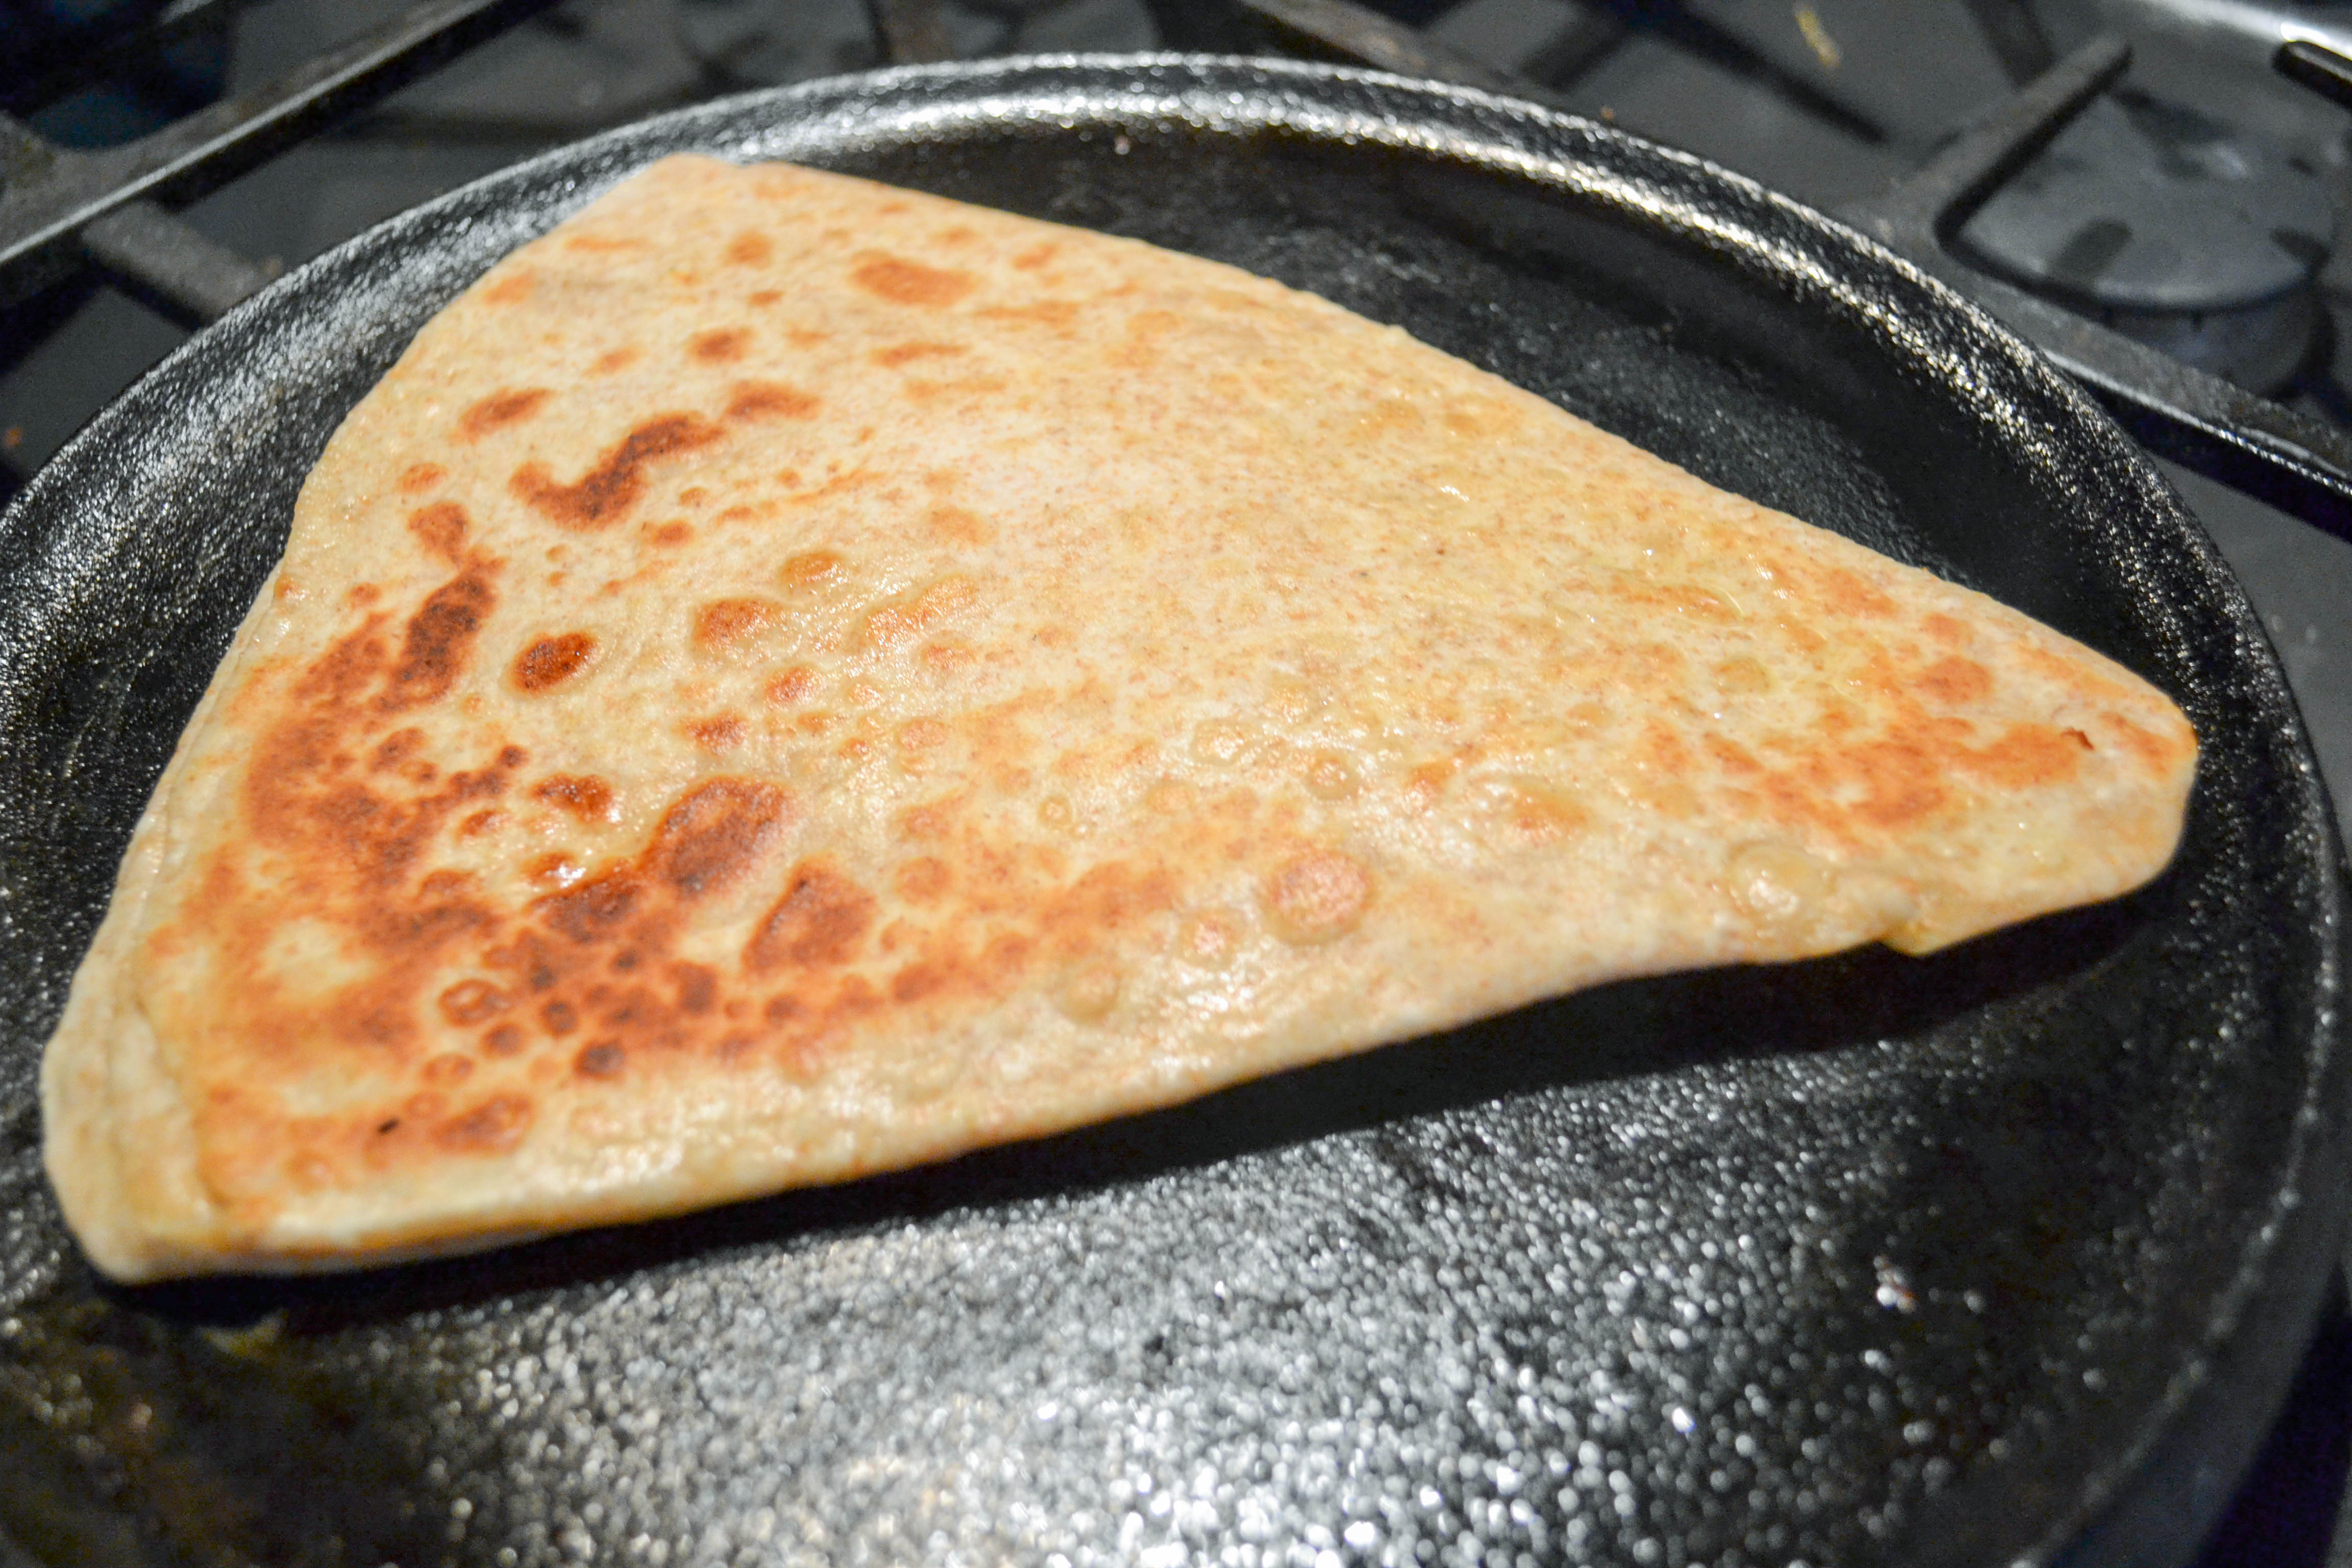
For fried pierogi, melt 4 Tbs. of the butter in a 12-inch heavy-duty skillet over medium-high heat. Working in batches of 10 to 12, cook the boiled pierogi, flipping once, until goldenbrown and crusty on both sides 6 , 4 to 5 minutes per batch. Transfer to a platter and keep warm in the oven. Repeat, adding more butter to the skillet as needed. Sprinkle the fried pierogi with the reserved onion, if you like, and serve with the sour cream on the side.

Make Ahead Tips
The filling can be made up to 1 day ahead; cover and refrigerate. Filled pierogi can be covered and refrigerated for up to 2 hours before cooking, or frozen for up to 6 months; freeze in a single layer on a parchment-lined tray, then transfer to freezer bags.

This recipe taken from: finecooking.com.

Share this:

  • Share on Pinterest (Opens in new window) Pinterest
  • Share on Facebook (Opens in new window) Facebook
  • Share on X (Opens in new window) X
  • Email a link to a friend (Opens in new window) Email
  • Print (Opens in new window) Print
  • Share on Tumblr (Opens in new window) Tumblr
  • More
  • Share on LinkedIn (Opens in new window) LinkedIn
  • Share on Reddit (Opens in new window) Reddit
Like Loading...

Parathas, part 1 of 3

01 Sunday Mar 2015

Posted by Zoli in bread, flatbread, indian, kids, kids lunchbox ideas, paratha, the basics, Vegetarian

≈ Leave a comment

Tags

flatbread, ghee, indian, kids, paratha, vegetarian

triangle paratha-8
circle paratha-4

Another lovely flatbread to eat on its own, rolled up with filling, stuffed or eaten with a curry or raita. Paratha is made with whole wheat flour, like chapatis, but layered so that it is soft and flaky. For this first post, I have made plain paratha two ways, in a normal circle and in a triangle shape.

Ingredients
2 cups atta or wheat flour (or 1 1/2 cup white flour, 1/2 cup whole wheat — Whole Wheat flour makes these dry so I use a mix or recommend Trader Joe’s White Wheat flour if you can’t find Atta flour)
about a cup of room temp water
salt to taste
a tbs or so of olive oil or melted ghee

For trianglular paratha
1) Mix the flour (for this version I used half white, half whole wheat flour) with the salt and oil or ghee.
2) Don’t just dump in the water! Add in a little at a time and mix with your fingers till it comes together as a nice soft dough. You may not need all the water.
3) Knead for a few minutes, then cover so the dough stays soft and leave to rest about 20 minutes.
4) Tear off pieces of dough and roll into balls. Keep them covered while you are working so they don’t dry out.
5) Take one dough ball, dip it in plenty of flour and roll out to a large flat circle.
6) Brush olive oil or melted ghee, then fold in half. Brush a little more oil on the half circle shape and then fold one more time to a triangle.
7) Pat down with your fingers to help seal the sides. Then sprinkle more flour and gently roll the triangle out to a large, thin triangle shape.
8) Heat up a cast iron skillet or frying pan with a little oil or ghee and fry the paratha on medium to medium high heat.
9) The paratha will start to bubble up. Flip the paratha to cook the other side.
10) Add a little more oil to the pan and push the paratha into the oil. Turn the heat down if it starts to burn. Keep flipping and cooking until you have a nice golden brown spotted look.

Serve warm with anything you want like a raita, chutney, curry or eat on its own.

For circle-shaped paratha

1) Mix the flour (for this version I used only whole wheat flour) with the salt and oil or ghee.
2) Add in the water, a little at a time and mix with your fingers till it comes together as a nice soft dough.
3) Knead for a few minutes, then cover tightly and leave to rest about 20 minutes. Tear off pieces of dough and roll into balls. Keep them covered while you are working so they don’t dry out.
4) Take the first dough ball and roll out to a medium small oval shape.
5) Brush with oil or melted ghee. Sprinkle with flour.
6) Pinch the middle of the oval to form a number 8 shape. Then fold over.
7) Gently roll out, using more flour if need be, to a large, thin circle shape.
8) Fry in the same manner as above. Repeat for the remaining parathas.

Serve warm. These are as versatile as any flatbread and they even make good quesadillas as they are softer, flakier and tastier than whole wheat tortillas.

Triangle paratha:
triangle paratha-1

triangle paratha-2

triangle paratha-3

triangle paratha-4

triangle paratha-5

triangle paratha-6

triangle paratha-7

triangle paratha-8

Circle paratha:
circle paratha-1

circle paratha-2

circle paratha-3

circle paratha-4

Share this:

  • Share on Pinterest (Opens in new window) Pinterest
  • Share on Facebook (Opens in new window) Facebook
  • Share on X (Opens in new window) X
  • Email a link to a friend (Opens in new window) Email
  • Print (Opens in new window) Print
  • Share on Tumblr (Opens in new window) Tumblr
  • More
  • Share on LinkedIn (Opens in new window) LinkedIn
  • Share on Reddit (Opens in new window) Reddit
Like Loading...
← Older posts
Newer posts →

Enter your email address to follow this blog and receive notifications of new posts by email.

Join 330 other subscribers

Recent Posts

  • Vegan pho
  • Sweet and spicy plantain
  • Vegetarian/Vegan Bánh Bèo – Savory steamed rice cakes
  • Stuffed arepas
  • Arepas

Recipes

  • breakfast
  • British
  • brunch
  • cheese
  • Chinese
  • Columbian
  • comfort food
  • cookies
  • dessert
  • drinks
  • french
  • gluten free
  • Guyanese
  • healthy
  • indian
    • dahl
  • italian
  • Japanese
  • kids
  • kids lunchbox ideas
  • Korean
  • luxurious leftovers
  • Malaysian
  • Mexican
    • tacos
  • Middle Eastern
  • party bites
  • pasta
    • pasta sauce
    • rice noodles
    • soba noodles
    • udon noodles
  • peanut free
  • pizza
  • pizza sauce
  • Polish
  • quick and awesome
  • salad
  • sandwiches
  • Sauces
  • Singaporean
  • snacks
  • soup
  • spanish
    • tapas
  • spices
  • Street food
  • Tea
  • tex mex
  • Thai
  • the basics
    • bread
      • baguette
      • ciabatta
      • English farmhouse loaf
      • flatbread
        • chapati
        • paratha
      • fougasse
      • naan
      • pain rustique
      • pita
      • roti
      • rye sourdough
      • sandwich loaf
    • crepes
    • eggs
      • omelettes
    • homemade cheese
    • pastry
    • rice
      • basmati
        • lemon rice
        • pulao rice
      • jasmine rice
      • risotto
  • tomato sauce
  • Uncategorized
  • vegan
  • Vegetarian
  • Venezuelan
  • Vietnamese

Archives

February 2026
M T W T F S S
 1
2345678
9101112131415
16171819202122
232425262728  
« Jul    
© copyright lushesfood 2013

Blog at WordPress.com.

Privacy & Cookies: This site uses cookies. By continuing to use this website, you agree to their use.
To find out more, including how to control cookies, see here: Cookie Policy
  • Subscribe Subscribed
    • lushesfood
    • Join 330 other subscribers
    • Already have a WordPress.com account? Log in now.
    • lushesfood
    • Subscribe Subscribed
    • Sign up
    • Log in
    • Report this content
    • View site in Reader
    • Manage subscriptions
    • Collapse this bar
 

Loading Comments...
 

    %d